how to add lace trim to the neckline
Adding lace trim to the neckline of a garment is a great way to add a touch of femininity and elegance to any outfit. Whether you’re making a dress, blouse, or even a tank top, lace trim can be used to create a beautiful and unique look. Here’s how to add lace trim to the neckline of your garment.
1. Measure the neckline of your garment. Measure the circumference of the neckline and the length of the neckline. This will help you determine how much lace trim you need to purchase.
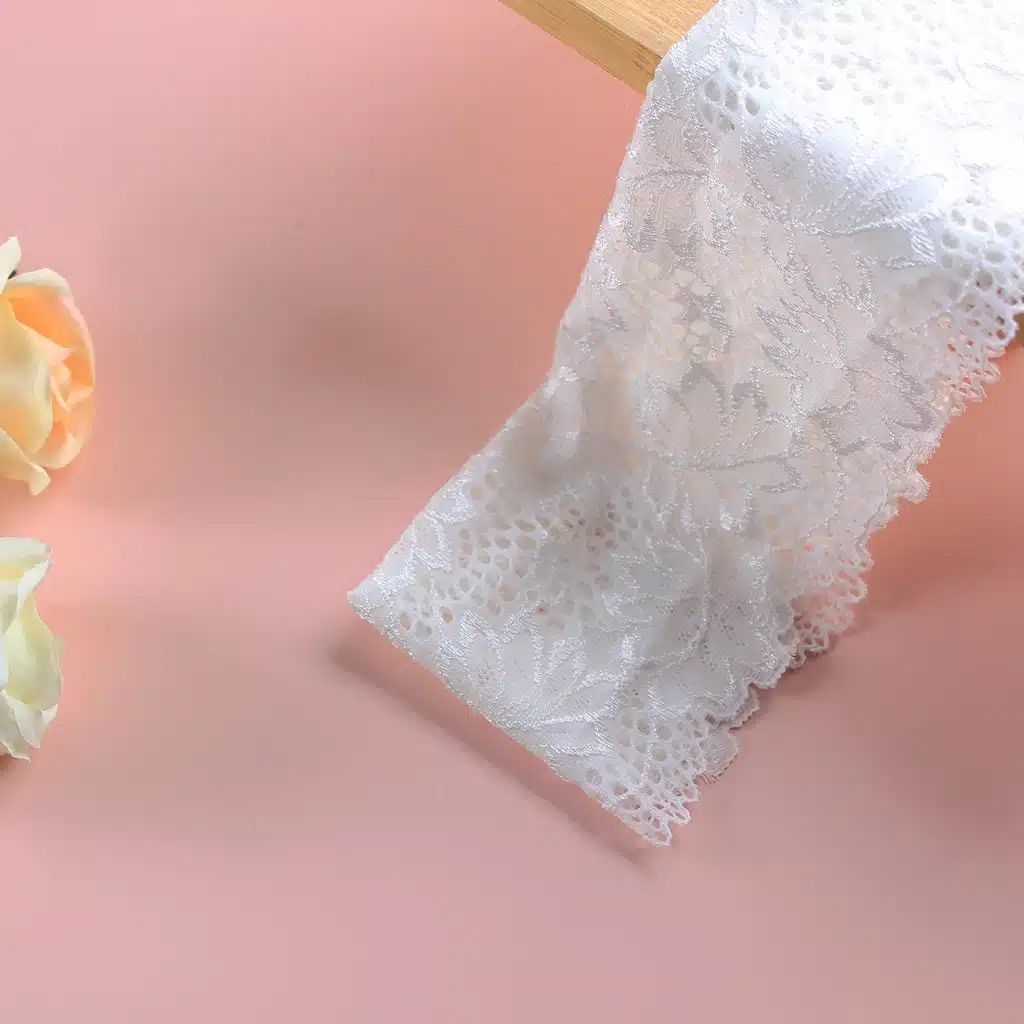
2. Purchase the lace trim. You can find lace trim in a variety of colors, widths, and lengths. Choose a lace trim that complements the color and style of your garment.
3. Cut the lace trim to the desired length. Measure the length of the neckline and cut the lace trim to the same length.
4. Pin the lace trim to the neckline. Start at one end of the neckline and pin the lace trim in place. Make sure the lace trim is even and straight.
5. Sew the lace trim to the neckline. Use a sewing machine or hand stitch the lace trim to the neckline. Make sure to use a thread that matches the color of the lace trim.
6. Trim any excess lace trim. Once the lace trim is sewn in place, trim any excess lace trim that is sticking out.
7. Iron the neckline. Use an iron to press the neckline and the lace trim. This will help the lace trim lay flat and look neat.
Adding lace trim to the neckline of a garment is a great way to add a touch of femininity and elegance to any outfit. With a few simple steps, you can easily add lace trim to the neckline of your garment and create a beautiful and unique look.